Configure OpenID Providers
To integrate zkLogin with your app, you need an OAuth client from at least one of the available providers. You will use the Client ID and redirect URI from those providers in your zkLogin project. For example, the following TypeScript code constructs a Google login URL for testing.
When configuring OAuth clients, register the exact redirect URIs your app uses and avoid wildcard or open redirects in production, as these enable token interception. Use a separate OAuth client per environment (for example, local, Testnet, and Mainnet) so test credentials never reach production, and rotate client secrets periodically and whenever one might have been exposed. See Security Best Practices.
Domain allowlisting checklist
Every time you deploy your app to a new frontend domain, you must update your OAuth provider configuration. If you skip this step, the provider rejects the authentication request and your users cannot sign in.
Complete the following for each new domain:
- Add the domain to authorized JavaScript origins. In your OAuth provider's console (for example, Google Cloud Console under APIs and Services > Credentials), add the new domain to the list of authorized JavaScript origins. Include both the root domain and any subdomains your app uses.
- Add all redirect URIs for the new domain. Add every redirect URI your app uses on the new domain. Include the full path (for example,
https://newdomain.example.com/auth/callback). Do not use wildcard URIs in production (Security Best Practices). - Wait for propagation. Some providers (notably Google) take a few minutes to propagate new origin and redirect URI entries. Test the sign-in flow on the new domain after adding the entries.
- Update your Enoki Portal configuration (if applicable). If you use the Enoki platform for managed salt or proof generation, add the new domain to your Enoki app configuration. The Enoki salt service only accepts JWTs from allowlisted client IDs and origins.
- Test the full authentication flow. Sign in through each configured provider on the new domain and verify that the JWT contains the expected
iss,aud, andsubclaims. Confirm that the derived zkLogin address matches the address produced on your existing domains.
If you use separate OAuth clients per environment (recommended), repeat this checklist for each client. A redirect URI registered on your Testnet OAuth client does not carry over to your Mainnet client.
const REDIRECT_URI = '<YOUR_SITE_URL>';

const params = new URLSearchParams({
	// Configure client ID and redirect URI with an OpenID provider
	client_id: $CLIENT_ID,
	redirect_uri: $REDIRECT_URI,
	response_type: 'id_token',
	scope: 'openid',
	// See below for details about generation of the nonce
	nonce: nonce,
});

const loginURL = `https://accounts.google.com/o/oauth2/v2/auth?${params}`;
OpenID providers
The following table lists the OpenID providers that can support zkLogin or are currently being reviewed to determine whether they can support zkLogin.
| Provider | Can support? | Devnet | Testnet | Mainnet |
|---|---|---|---|---|
| Yes | Yes | Yes | Yes | |
| Yes | Yes | Yes | Yes | |
| Twitch | Yes | Yes | Yes | Yes |
| Apple | Yes | Yes | Yes | Yes |
| Slack | Yes | Yes | No | No |
| Kakao | Yes | Yes | No | No |
| Microsoft | Yes | Yes | No | No |
| AWS (Tenant)* | Yes | Yes | Yes | Yes |
| Karrier One | Yes | Yes | Yes | Yes |
| Credenza3 | Yes | Yes | Yes | Yes |
| RedBull | Under review | No | No | No |
| Amazon | Under review | No | No | No |
| Under review | No | No | No | |
| Auth0 | Under review | No | No | No |
| Okta | Under review | No | No | No |
- Sui supports AWS (Tenant) but the provider is enabled per tenant. Contact us for more information.
Configuring an OpenID provider
Select a tab for instruction on configuring the client ID ($CLIENT_ID in the previous example) and redirect URI ($REDIRECT_URI in the previous example) with the relevant provider.
- Twitch
- Kakao
- Slack
- Apple
- Microsoft
-
Navigate a browser to the Google Cloud dashboard. Either sign in or register for a Google Cloud account.
-
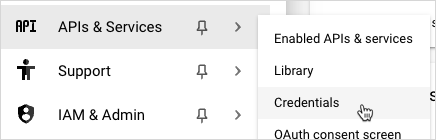
Open APIs & Services > Credentials using the Google Cloud dashboard navigation.
-
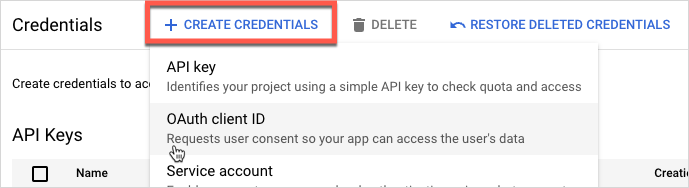
On the Credentials page, select CREATE CREDENTIALS > OAuth client ID.
-
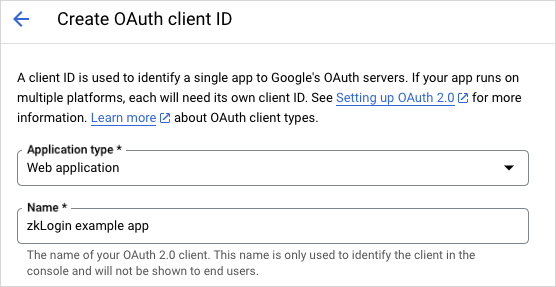
Set the Application type and Name of your application.
-
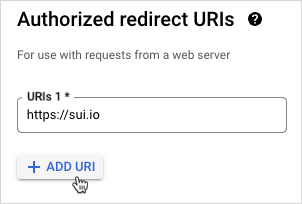
In the Authorized redirect URIs section, click the ADD URI button. Set the value for your redirect URI in the field. This should be the wallet or application frontend.
-
Click Create. If successful, Google Cloud displays the OAuth client created dialog with metadata, including your Client ID. Click OK to dismiss the dialog.
Your new OAuth client should now appear in the OAuth 2.0 Client IDs section of the Credentials page. Click the Client ID that appears next to the client to copy the value to your clipboard. Click the client name to access the redirect URI and other client data.
-
Register for a Facebook developer account and access the dashboard.
-
Select Build your app then Products then Facebook Login where you can find the client ID. Set the redirect URL. This should be the wallet or application frontend.
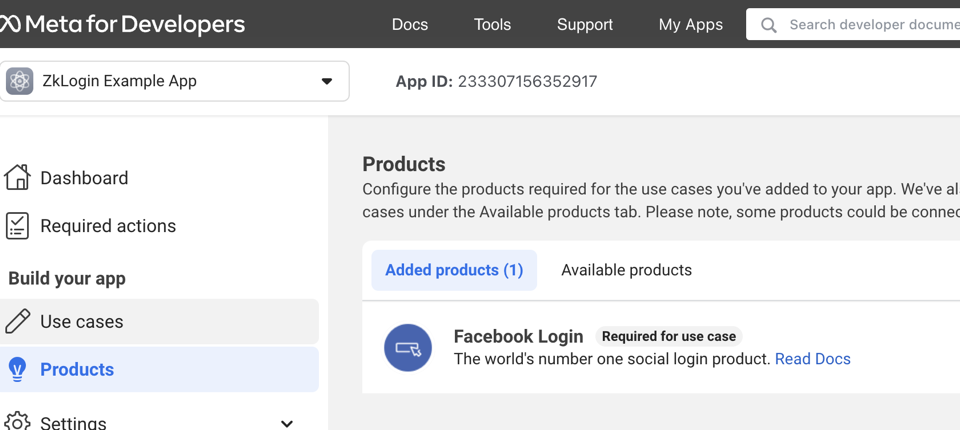
Sign up for Facebook developer account
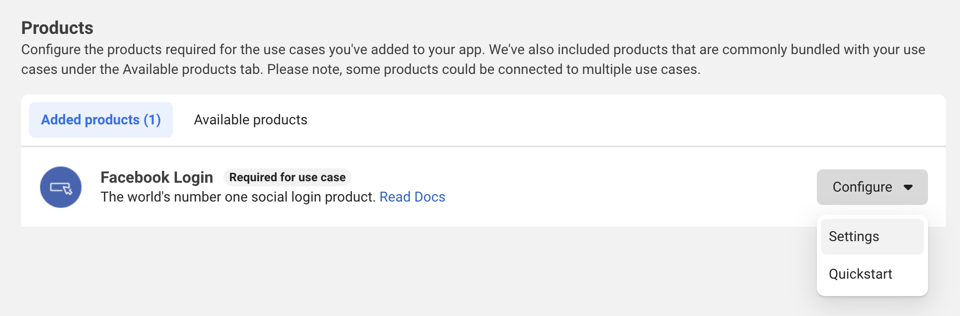
Go to Settings
-
Register for a Twitch developer account. Access the dashboard.
-
Go to Register Your Application then Application where you can find the client ID. Set the redirect URL. This should be the wallet or application frontend.
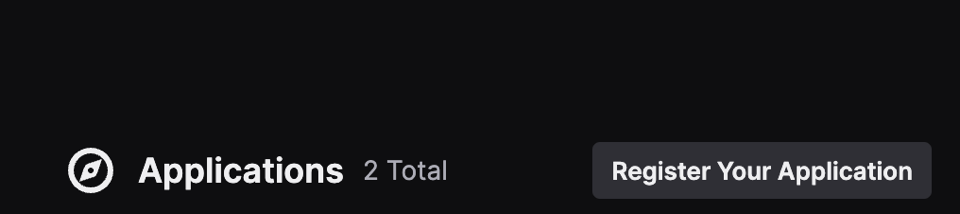
Sign up for Twitch developer account
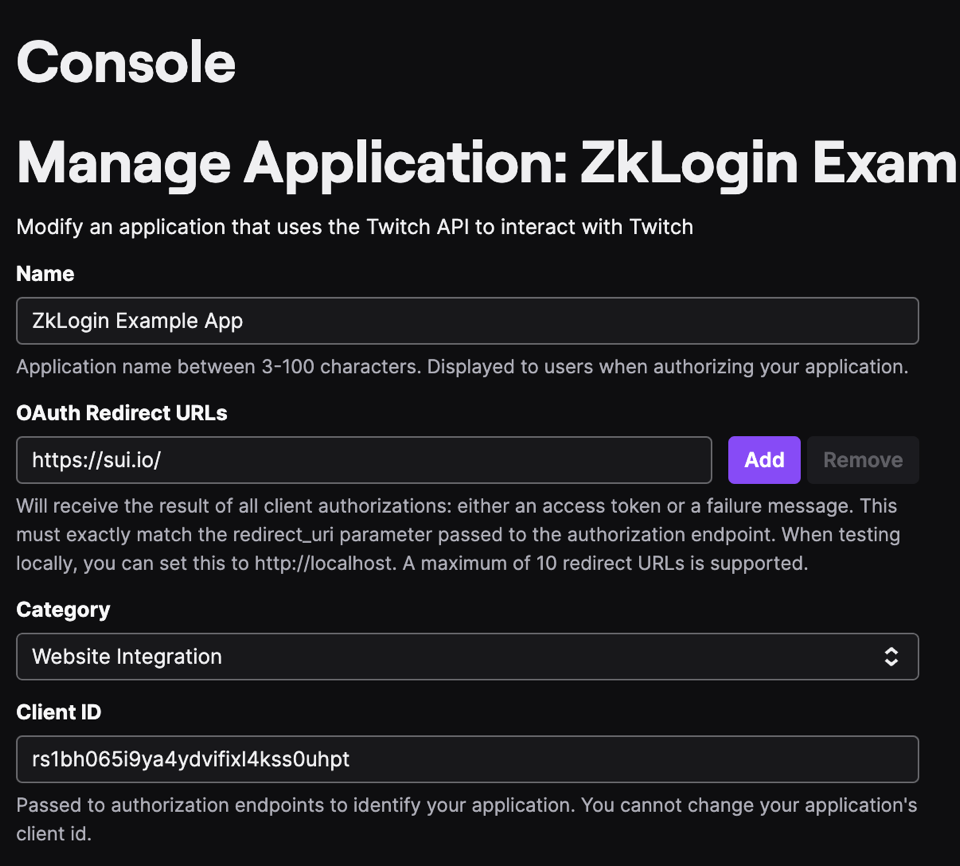
Go to Console
- Register for a Kakao developer account. Access the dashboard and add an application.
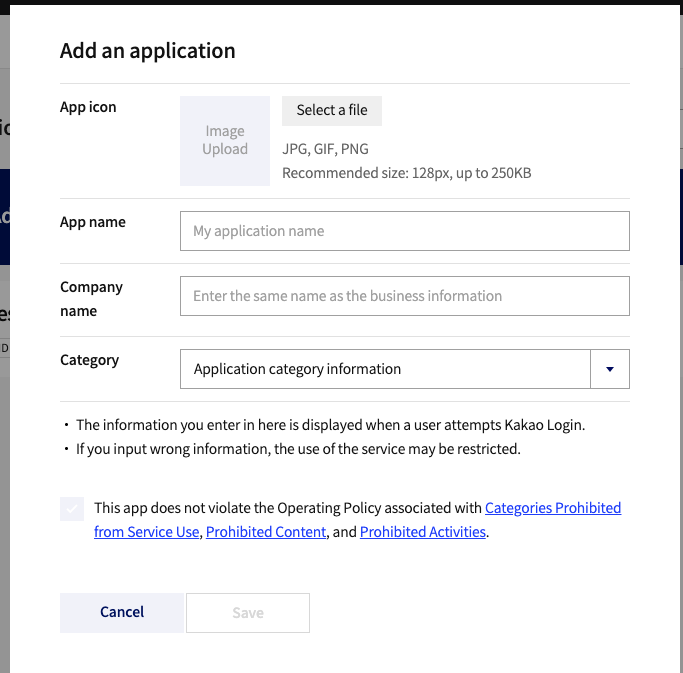
Add applications to Kakao
- Go to App Keys where you can find the corresponding client ID for different platforms.
- Native app key: Used to call APIs through the Android or iOS SDK.
- JavaScript key: Used to call APIs through the JavaScript SDK.
- REST API key: Used to call APIs through the REST API.
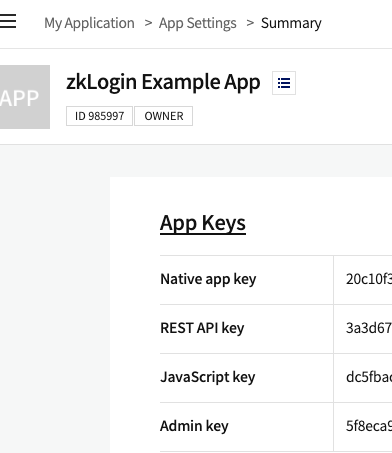
Find client ID
- Toggle on Kakao Login Activation and OpenID Connect Activation.Set the redirect URL in Kakao Login under Product Settings.This should be the wallet or application frontend.
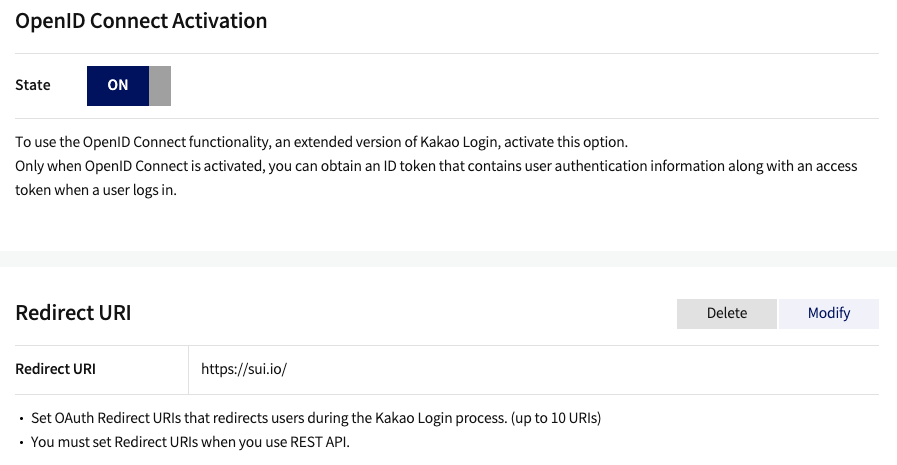
Set redirect URL
-
Register for a Slack developer account. Access the dashboard and go to Create New App then choose From scratch.
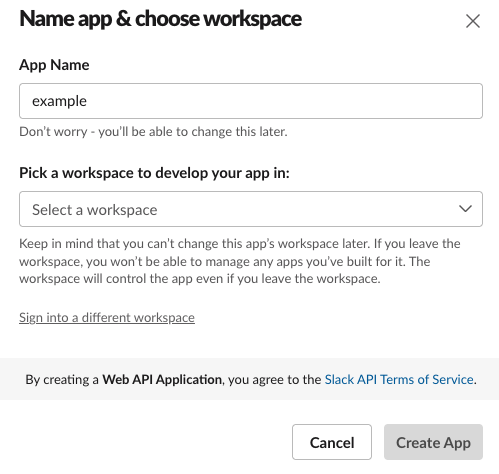
Create app in Slack
-
Find the Client ID and Client Secret under App Credentials.
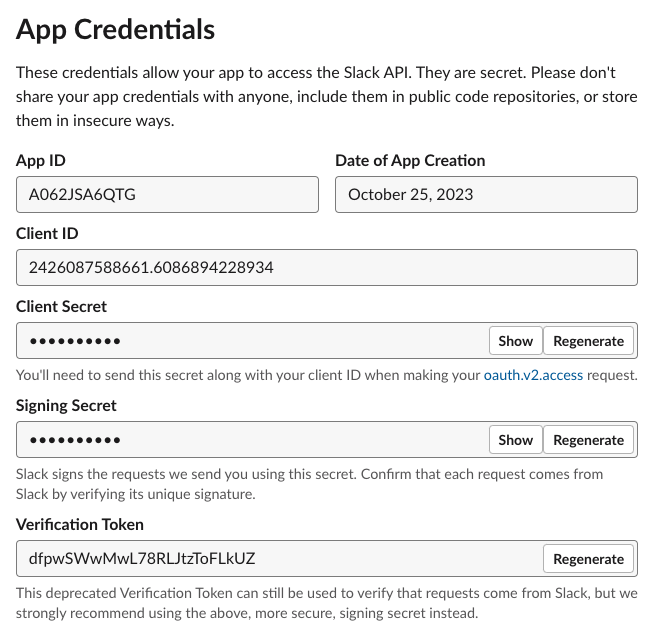
Find Client ID and Client Secret
-
Set Redirect URL in OAuth & Permissions under Features. This should be the wallet or application frontend.
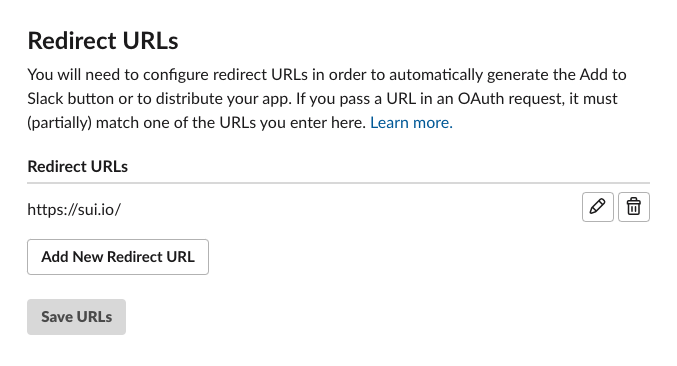
Set Redirect URL
-
Register for an Apple developer account. Go to the Certificates, Identifiers and Profiles section.
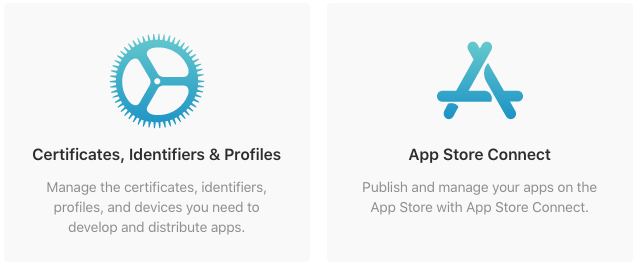
This is where you can create Certificates, Identifiers, and Profiles
-
Create an App ID
- From the sidebar, select Identifiers and click the blue plus icon to create a new one.
- Choose App IDs as the identifier type and click Continue.
- In the next screen, enter a descriptive name for your App ID and a unique Bundle ID in reverse-dns format (for example,
com.example.app). - Scroll down to the list of capabilities and enable Sign In with Apple by checking the box next to it.
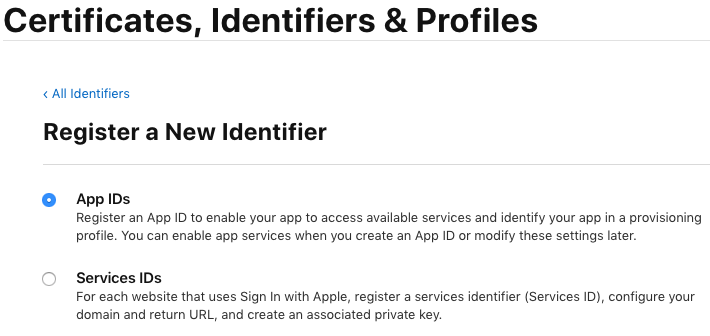
This is how you can enable Sign In with Apple for your App ID
-
Create a Services ID
A Services ID identifies a specific instance of your app and is used as the OAuth
client_id. You need a Services ID if you want to use Sign In with Apple for your web app.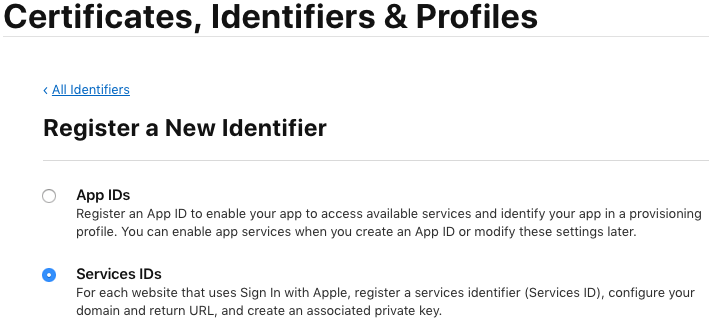
This is where you create a Services ID
-
Create a new identifier and select Services IDs as the identifier type.
- In the next step, enter a name for your app that will be displayed to the users during the sign-in process and a unique identifier that will be used as the OAuth
client_id. Make sure to enable Sign In with Apple by checking the box next to it. - Click the Configure button next to Sign In with Apple to set up the domain and redirect URLs for your app. You need to specify the domain name where your app is hosted and the redirect URL that will handle the OAuth response from Apple.
Select the App ID that you created in the previous step as the Primary App ID. This will associate your Services ID with your App ID.
Enter the domain name of your app (for example, example-app.com) and the redirect URL that will receive the authorization code from Apple (for example, https://example-app.com/redirect). Apple does not allow localhost or IP addresses as valid domains or redirect URLs.
Click Save and then Continue and Register until you complete this step.
You have now created an App ID and a Services ID for your app. The identifier of your Services ID is your OAuth
client_id. In my example, that is com.example.client.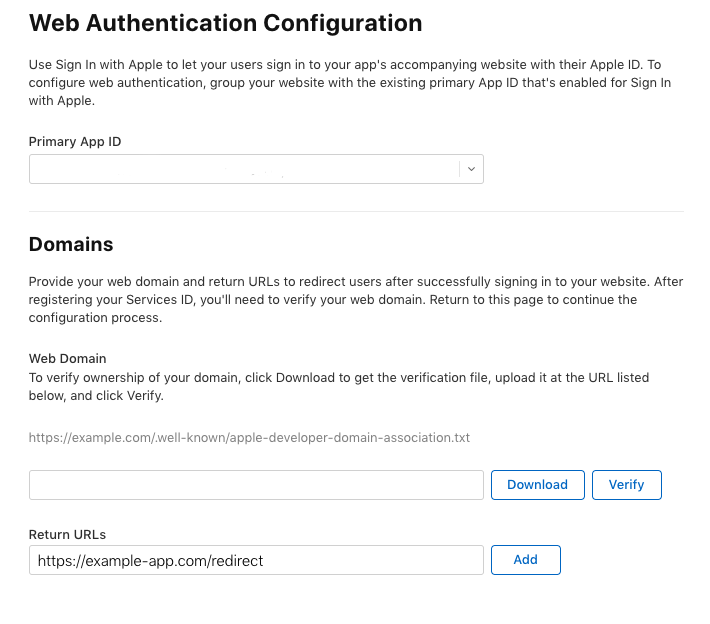
This is where you set the redirect URL
- In the next step, enter a name for your app that will be displayed to the users during the sign-in process and a unique identifier that will be used as the OAuth
-
Register and sign in to the Microsoft Entra admin center.
-
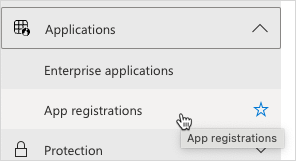
Select Applications > App registrations from the left nav.
-
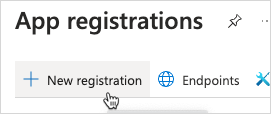
Click the New Registration button in the top left to open the Register an application page.
-
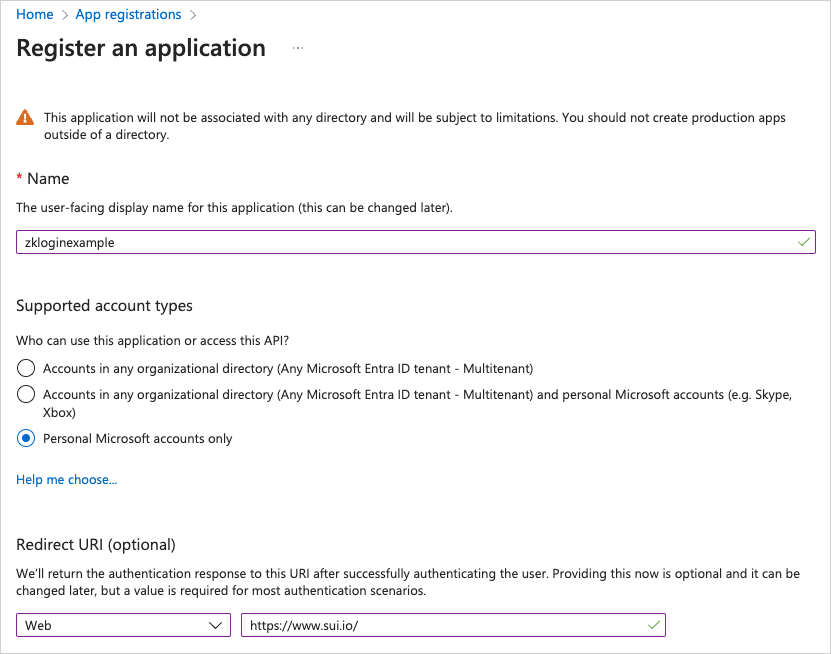
Type the application name in the Name field, select the appropriate Supported account types option, and set the Redirect URI value. When satisfied, click Register.
-
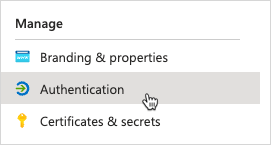
After clicking the Register button, the admin center opens the application view. Select Authentication from the left nav of the application view.
-
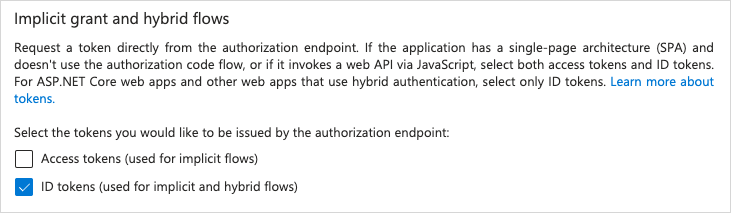
In the Implicit grant and hybrid flows section, check the ID tokens (used for implicit and hybrid flows) box.
-
Click Save.
-
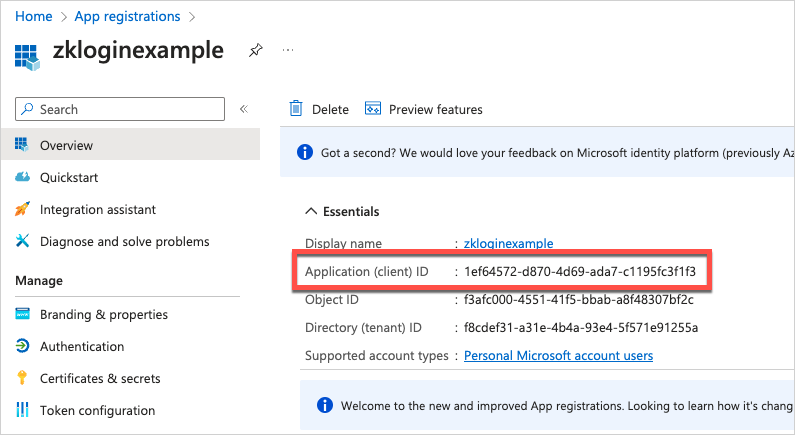
Client ID is available in the Essentials section of the application's Overview tab.