Connect a Frontend to a Move Package
In the previous guide, "Hello, World!", you deployed a Move package and interacted with it to create an object that stored the text "Hello world!".
This guide demonstrates how to connect a React interface to that "Hello, World!" package, giving any user a way to interact with the Move package from their browser and set a custom greeting.
- Prerequisites
-
Complete the "Hello, World!" guide and have your published Move package's ID.
-
Install
pnpmto use as the package manager. -
Create a Slush wallet.
Call the Move package
First, confirm that you have followed the "Hello, World!" example guide and are within the sui-stack-hello-world/move/hello-world directory in your CLI.
Then, verify your Move package is still available on Testnet by obtaining its object information:
$ sui client object <PACKAGE_ID>
Replace <PACKAGE_ID> with your Move package's ID.
If your package no longer exists, or if you need to obtain the package ID again, follow the steps in the "Hello, World!" guide.
View the frontend source code
In the "Hello, World!" example project, the subdirectory sui-stack-hello-world/ui contains the frontend interface source code files:
.
├── eslint.config.js
├── index.html
├── package.json
├── pnpm-lock.yaml
├── prettier.config.cjs
├── src
│   ├── App.tsx
│   ├── constants.ts
│   ├── CreateGreeting.tsx
│   ├── dapp-kit.ts
│   ├── Greeting.tsx
│   ├── main.tsx
│   ├── networkConfig.ts
│   └── vite-env.d.ts
├── tsconfig.json
├── tsconfig.node.json
└── vite.config.mts
App.tsx
The App.tsx file contains code that creates a basic starter template for your React app. It includes a button to connect a Slush wallet to the app and a button to open the Sui Faucet to obtain Testnet SUI.
ui/src/App.tsx. You probably need to run `pnpm prebuild` and restart the site.CreateGreeting.tsx
The CreateGreeting.tsx file contains logic that creates and sends a transaction to your Move package. The transaction calls the new function of the package, which creates a Move object with the value Hello world!. In the "Hello, World!" guide, you called this function manually through the CLI with the command sui client call --package <PACKAGE_ID> --module greeting --function new.
ui/src/CreateGreeting.tsx. You probably need to run `pnpm prebuild` and restart the site.Greeting.tsx
The Greeting.tsx file also contains logic that creates and sends a transaction to your Move package. However, this transaction calls the update_text function of the package, which modifies the text to replace "Hello world!" with the text of your choosing.
ui/src/Greeting.tsx. You probably need to run `pnpm prebuild` and restart the site.Connect the React interface to your Move package
The constants.ts file is where you connect the React app to your Move package. This file contains a single line that sets your Move package ID as a constant TESTNET_HELLO_WORLD_PACKAGE_ID. By default, this file contains a sample package ID.
Modify this file to include your Move package ID instead.
ui/src/constants.ts. You probably need to run `pnpm prebuild` and restart the site.The networkConfig.ts file uses this constant:
ui/src/networkConfig.ts. You probably need to run `pnpm prebuild` and restart the site.Install frontend dependencies
Now, navigate into the sui-stack-hello-world/ui directory if you are not already there and install the necessary frontend dependencies:
$ pnpm install
Run the React application
Start the React application in your local development environment:
$ pnpm dev
Then, open http://localhost:5173/ in your browser. The app prompts you to connect your Slush wallet. Click Connect Wallet, authenticate when prompted, then approve the connection.
Send SUI tokens to your Slush wallet
If you sent SUI tokens to an address used in the CLI in previous guides, then created a new Slush wallet in your browser, you likely need to send SUI tokens to the Slush wallet. The Slush wallet address is different and separate from the address created and used in the CLI.
Follow the Testnet SUI instructions to send Testnet tokens to your Slush address.
Use the frontend interface
Next, click the Create Greeting button. In the code, this button activates the logic stored in CreateGreeting.ts to send a transaction to the Move package that calls the new function and creates the Greeting object.
The Slush wallet prompts you to approve this transaction.
If there is a problem, the prompt to approve the transaction displays the error message. Common errors include "Unable to Process Transaction" due to either insufficient gas coins or an incorrect Move package ID.
Obtain Testnet SUI or confirm you have the correct Move package ID to resolve these errors.
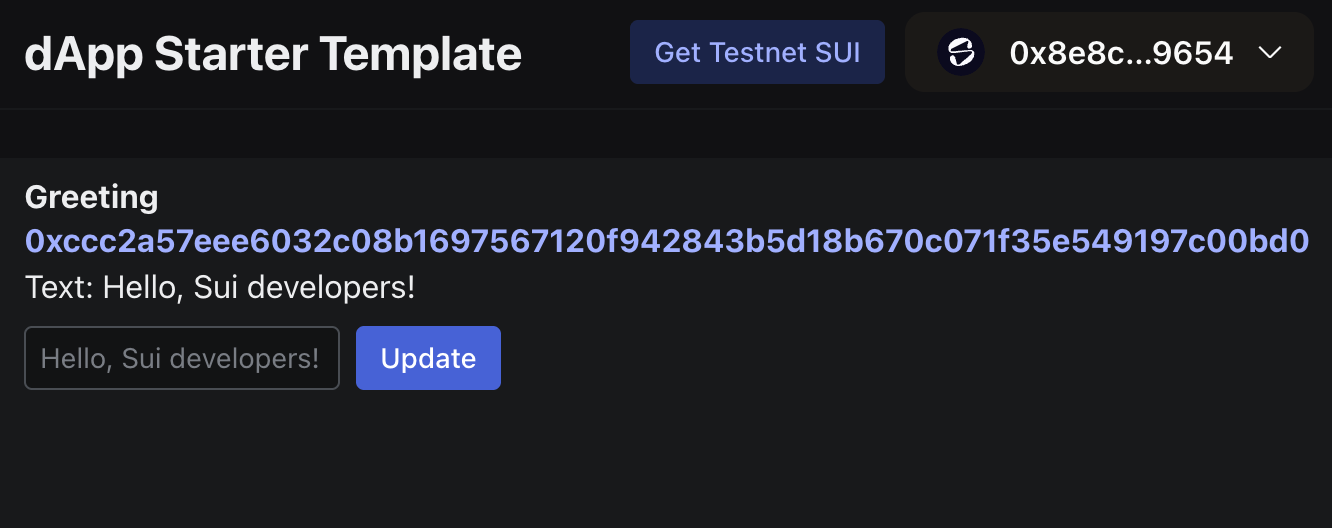
After you approve the transaction, the browser window displays the Greeting object's ID and its content, which by default is "Hello world!"
To change this text, enter a different greeting in the text box below the default value and click Update. The Slush wallet prompts you to approve the transaction.
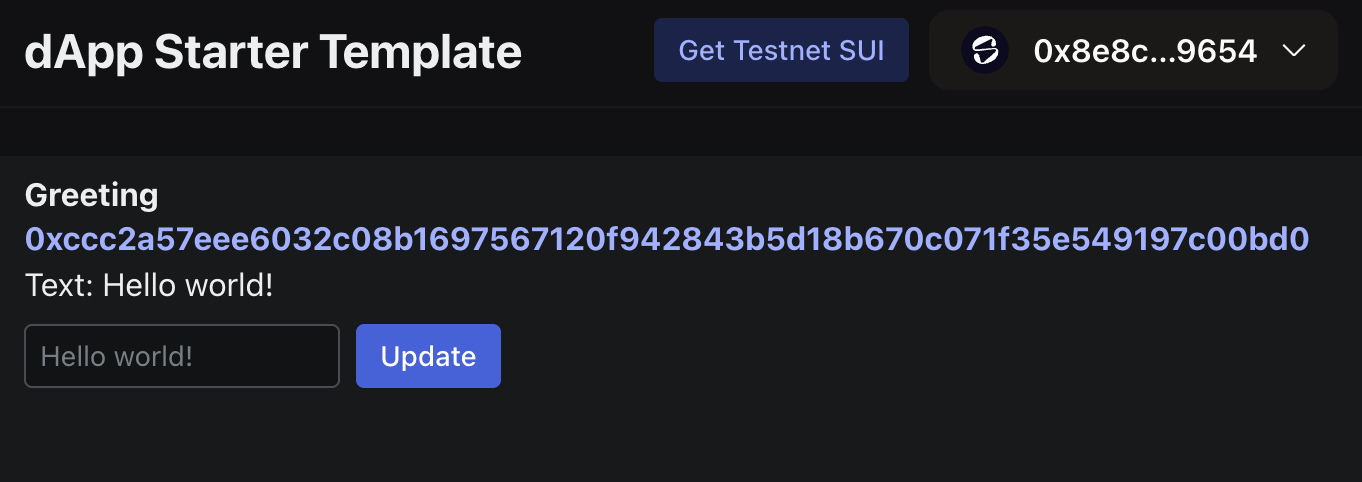
After you approve the transaction, the new greeting is displayed: